 with PREFALZ in P.10 dark grey")


Note
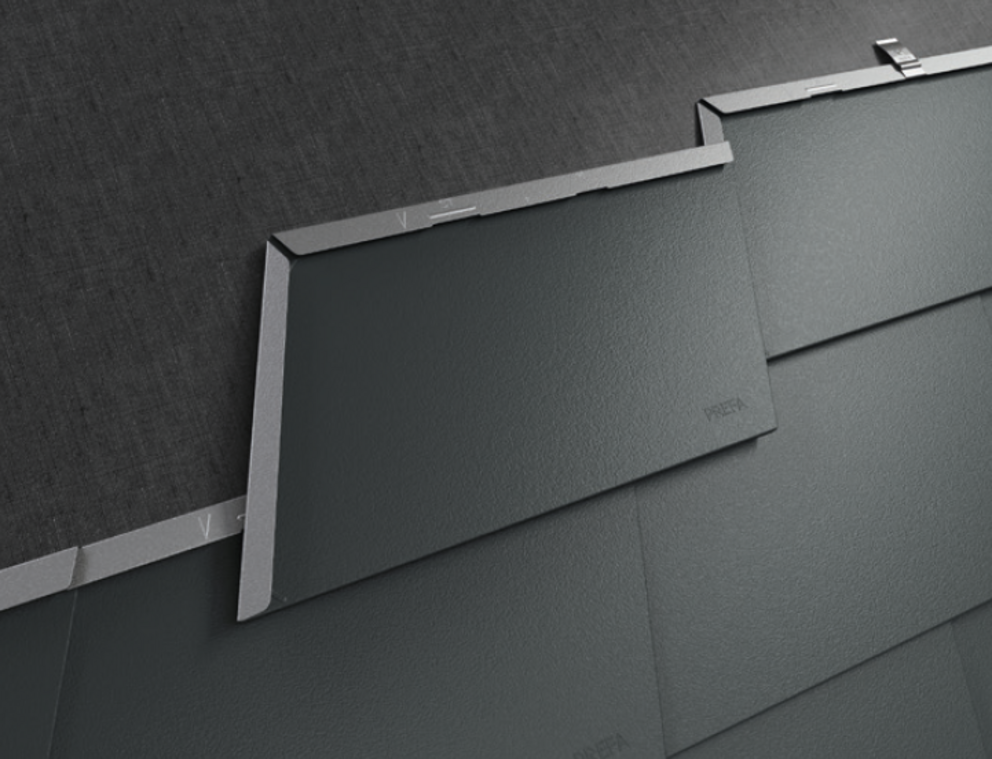
The shape of the shingle tapers, resulting in a hanging heel (lowering). The head (upper edge) of the shingle is aligned horizontally (parallel to the starter strip) during installation and fastened. This creates the sawtooth pattern typical of shingles at the lower side of the shingle rows.
Ensure that at connections (e.g. at a valley or the like), the upper horizontal folds are in any case executed horizontally and without interruption.
Laying the shingle with a “left slope” must be strictly avoided!
You can only download content from one product category. If you require content from multiple categories, please create a separate download for each product area.
