 with PREFALZ in P.10 dark grey")


Click on the topic you want to go directly to the appropriate guide:
Product |
Joints |
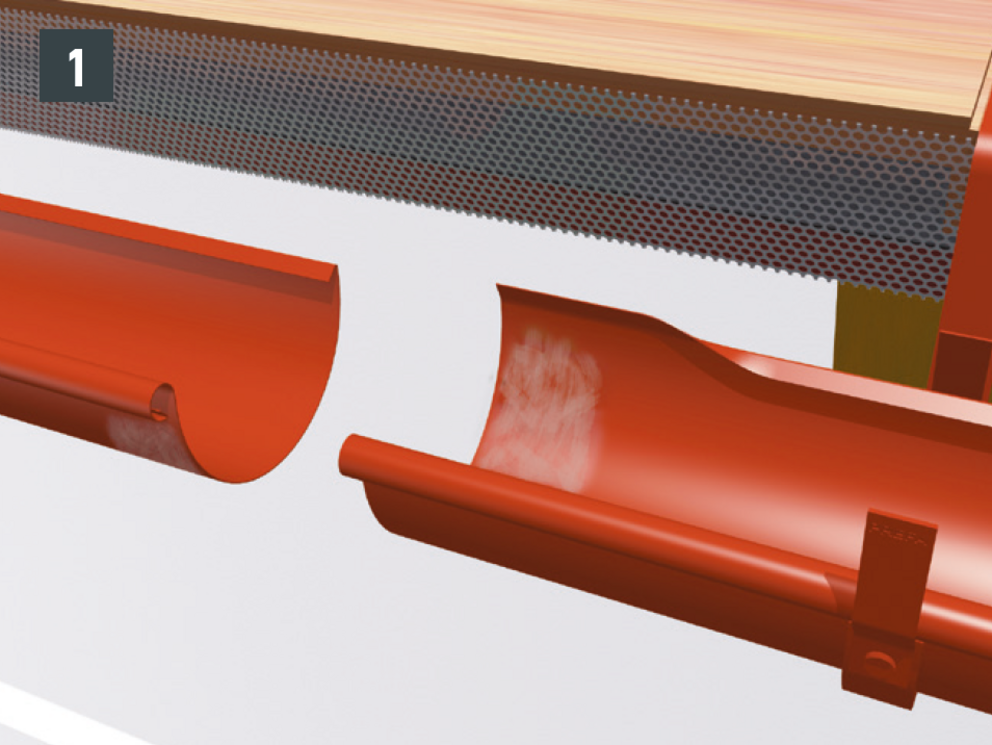
Hanging gutter 250 |
approx. 22 |
Hanging gutter 280 |
approx. 19 |
Hanging gutter 333 |
approx. 15 |
Hanging gutter 400 |
approx. 12 |
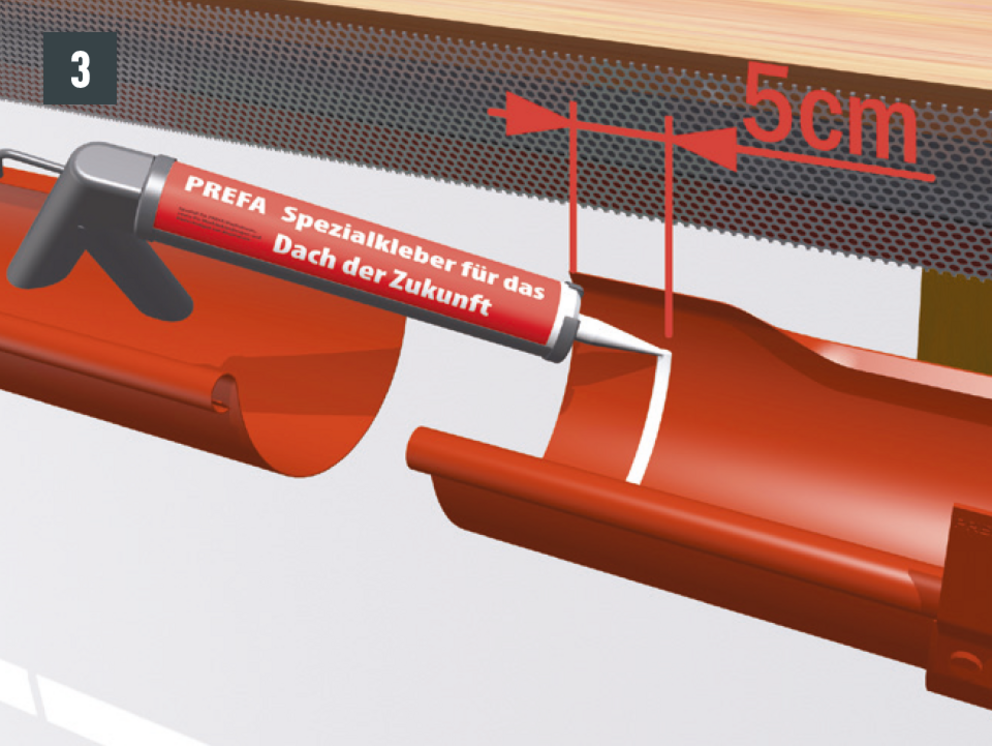
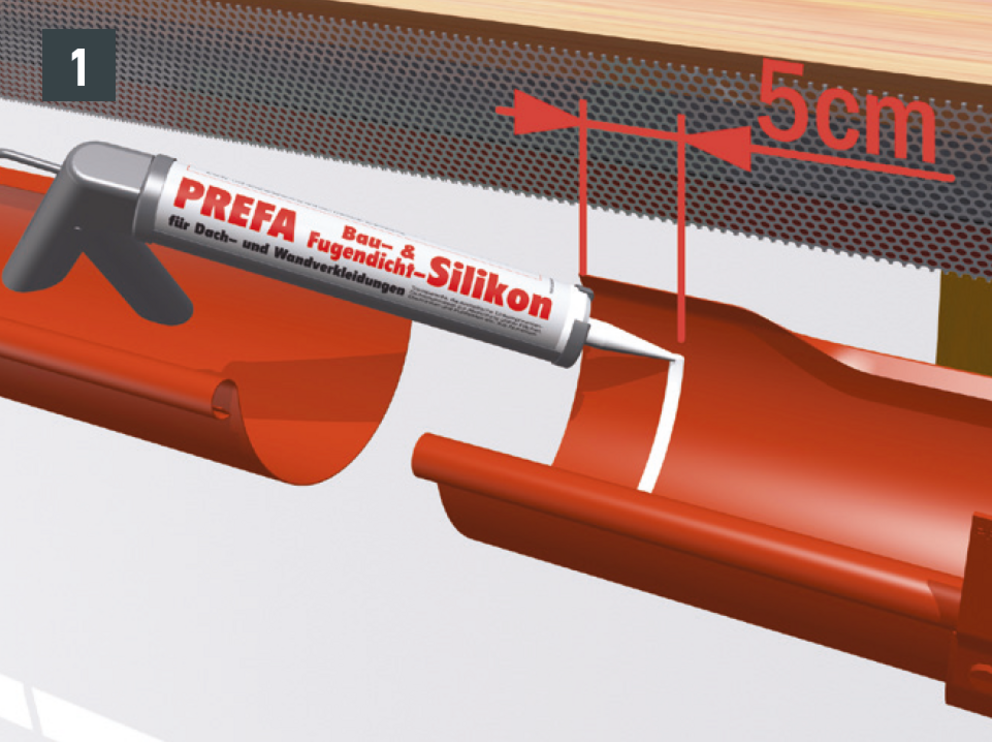
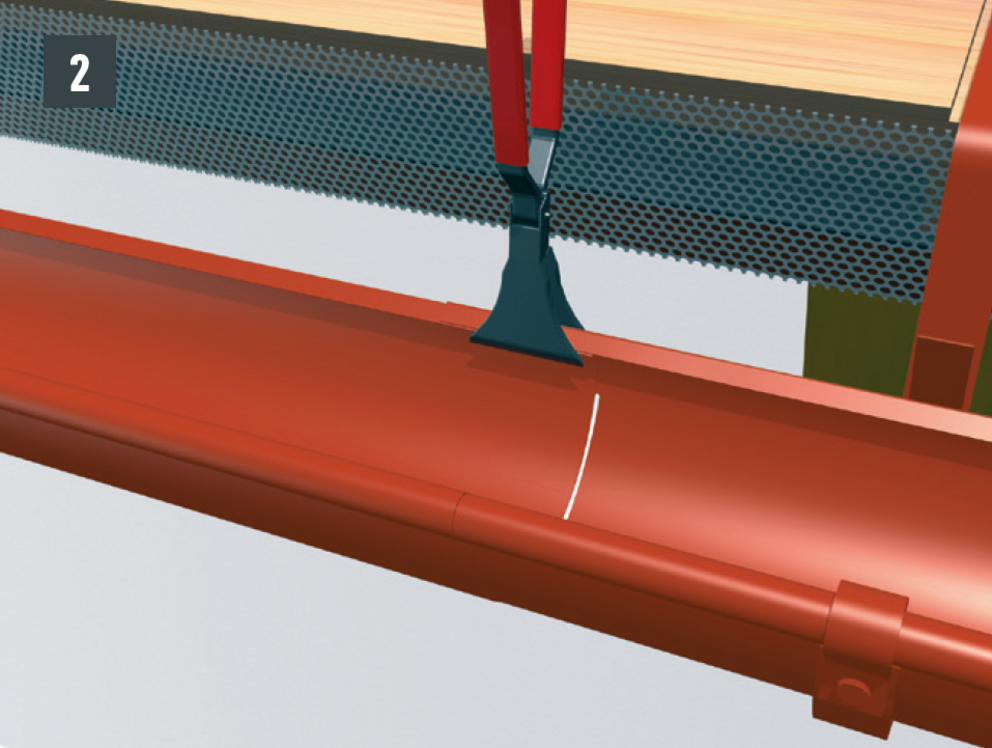
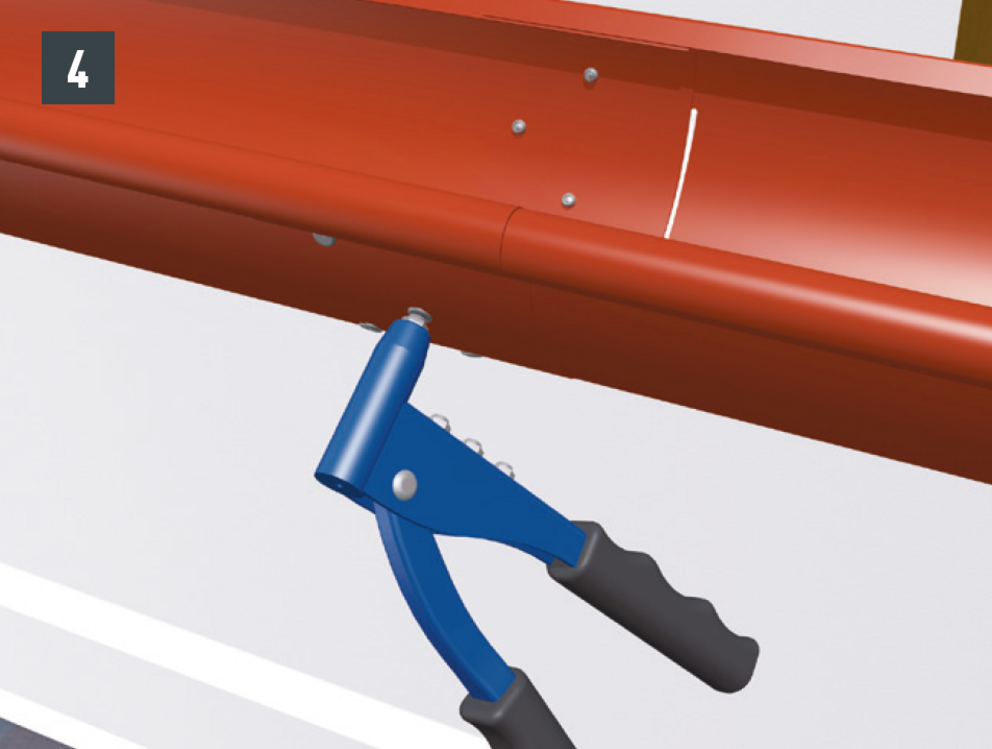
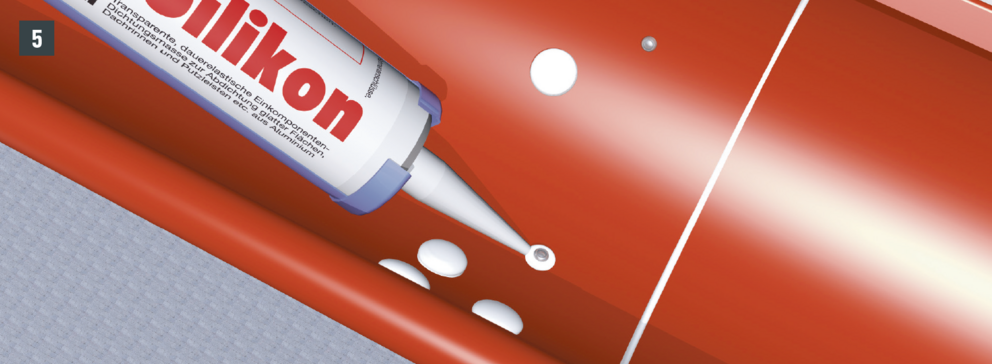
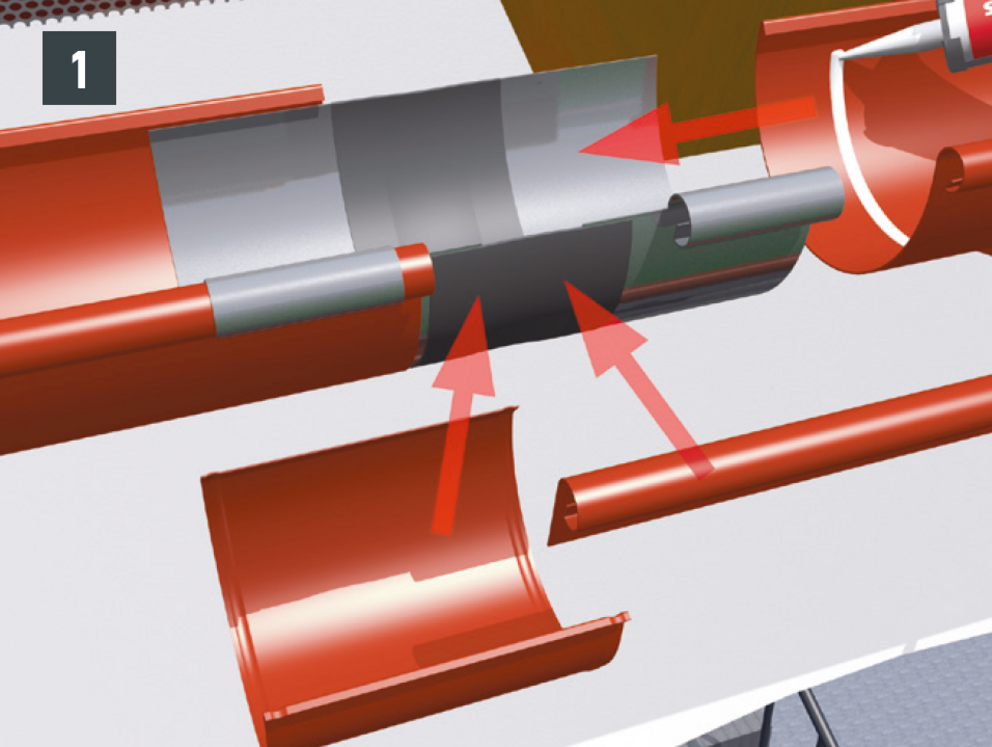
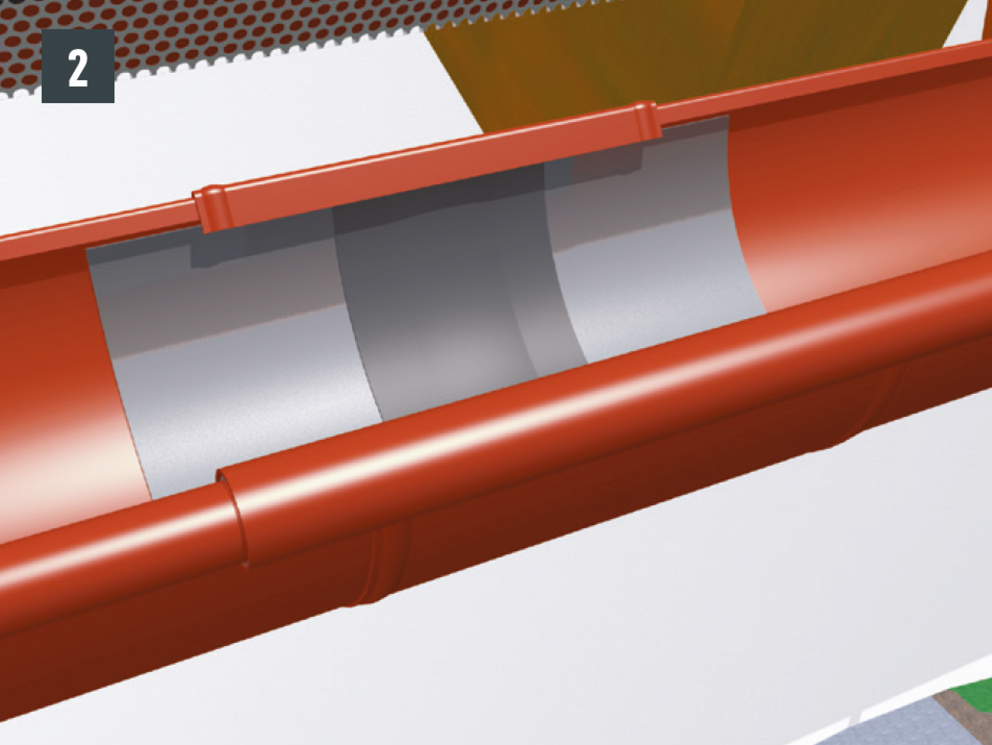
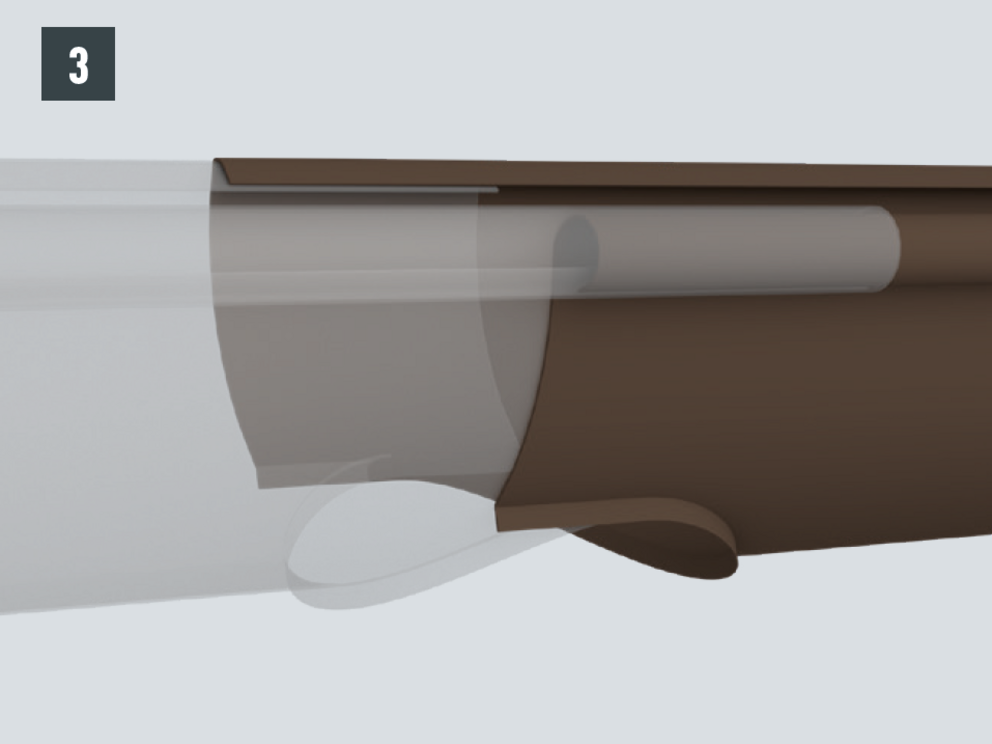
Hanging gutter joints with 1 special adhesive cartridge


You can only download content from one product category. If you require content from multiple categories, please create a separate download for each product area.
