 with PREFALZ in P.10 dark grey")


For the starter detail, PREFA supplementary coil material or PREFA perforated plate is used to prefabricate the following profiles:
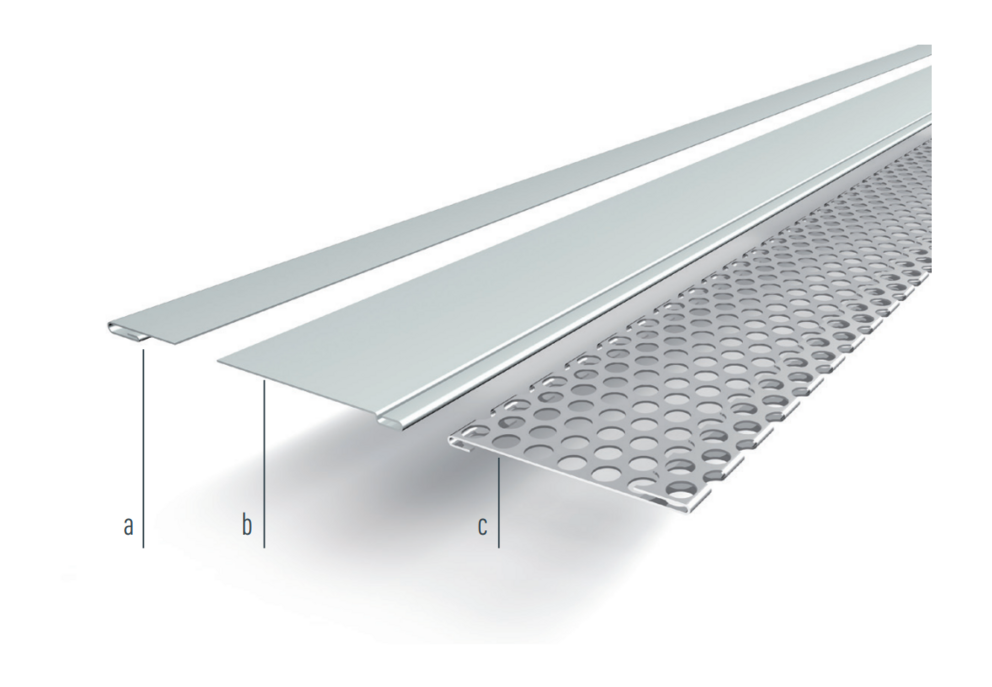
a – Pocket flashing |
b – Base plate |
c – Perforated metal plate |
These are connected to each other and then fastened to the supporting system
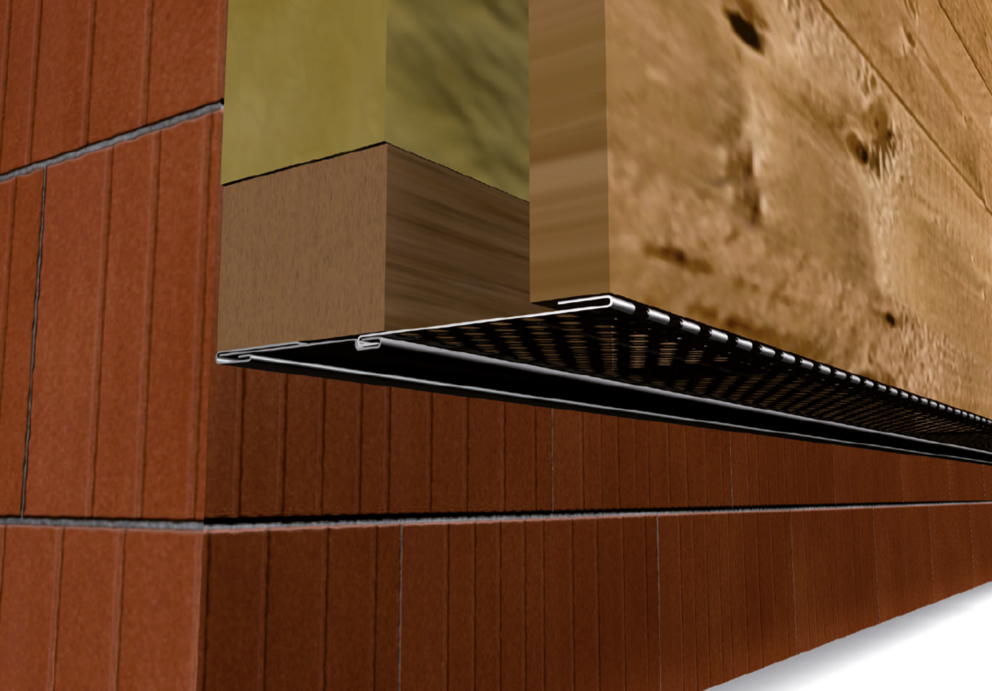
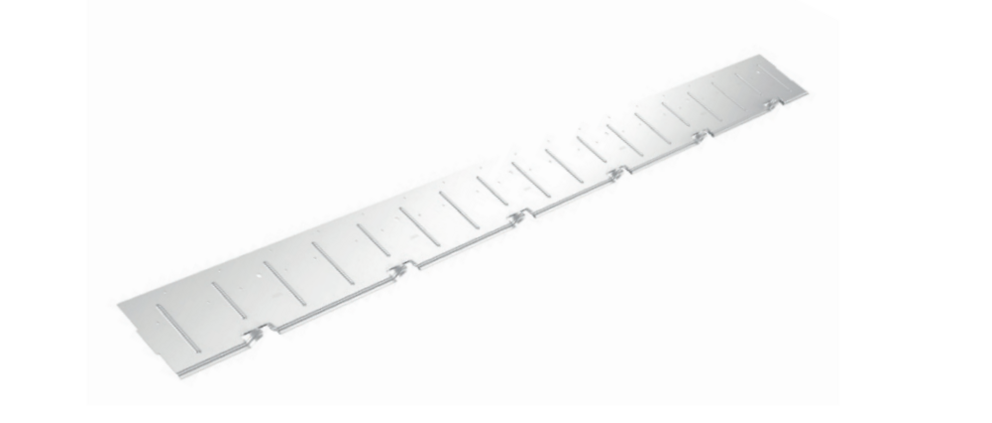
Once the details for the base area of the rainscreen (perforated metal plate and cover flashing) have been mounted, installation can begin using the starter strip. The starter strip is always the start of the construction of a façade with PREFA small-format products. The precise installation of the starter strip is important, as this significantly shapes the appearance of your façade.

Note
The more precisely you install the starter strip, the easier it will be for you to professionally lay the PREFA façade system. The markings for the respective PREFA wall covering must be taken into account.
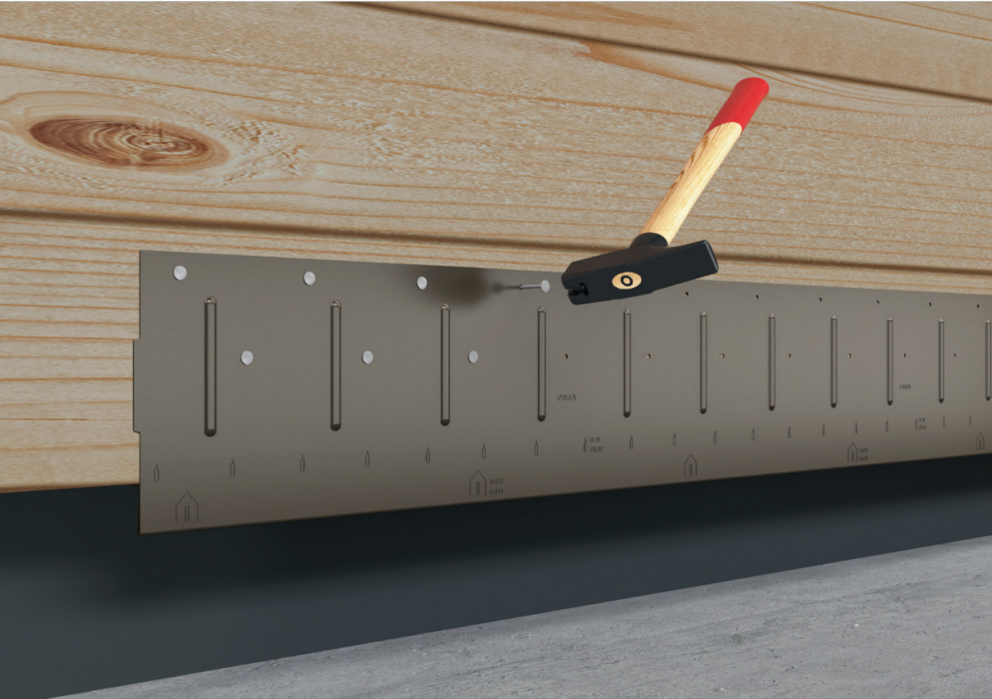
The starter strip is attached over the entire lower detail length. This can be performed in a straight line by means of a previously cut cord. Make sure that the projection of the starter strip to the lowest sheathing board is no more than 80 mm. The starter strip must lie completely on the wooden substructure.
Pin the starter strip through before nailing out any pre-punched holes with the supplied PREFA nails (nail out all pre-punched holes). The vertical bevels are then carried out in a product-specifical manner.
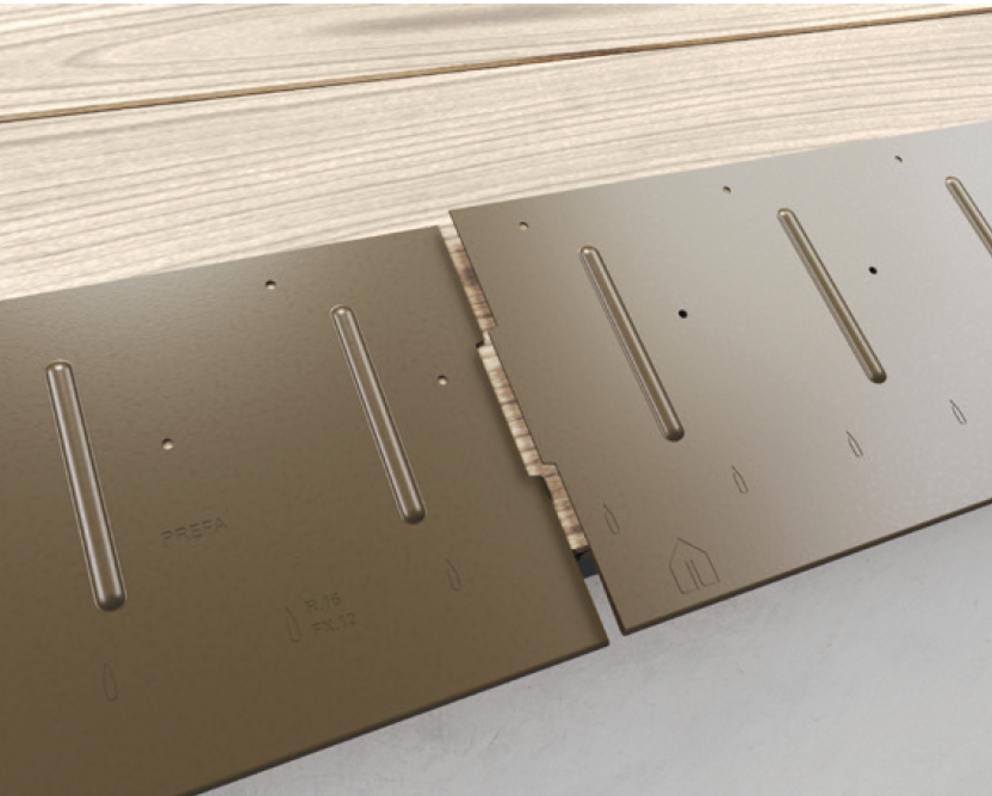
Align the starter strips with the embossed notch for the R.16 roof tile or FX.12 façadenpaneel FX.12 panel to the centre of the façade.
It should be noted that the area for the lateral bend (e.g. abutment detail) is not located in the - area of the vertical seam of R.16 roof tile or FX.12 façade panel. If necessary, move the starter strip by a quarter of the dimension of an R.16 roof tile or an FX.12 façade panel.
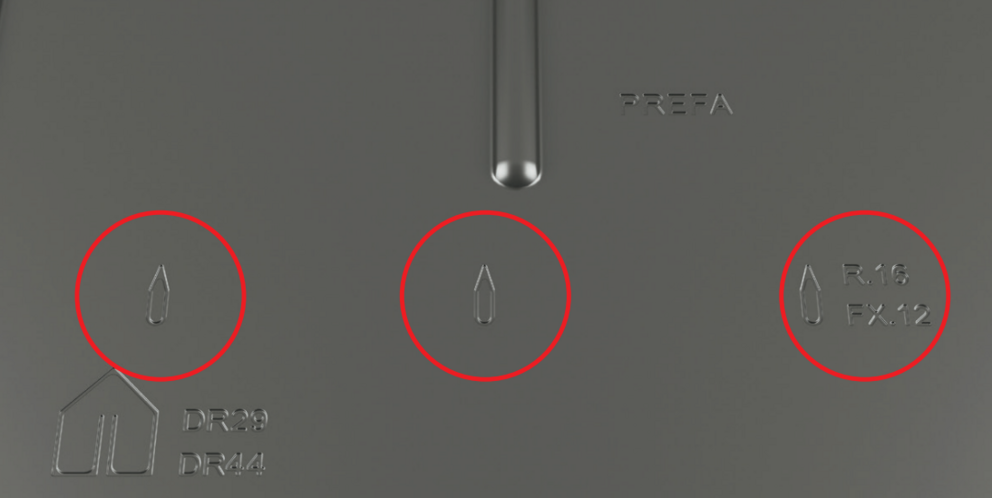
Align the starter strip with the embossed notch to the façade.
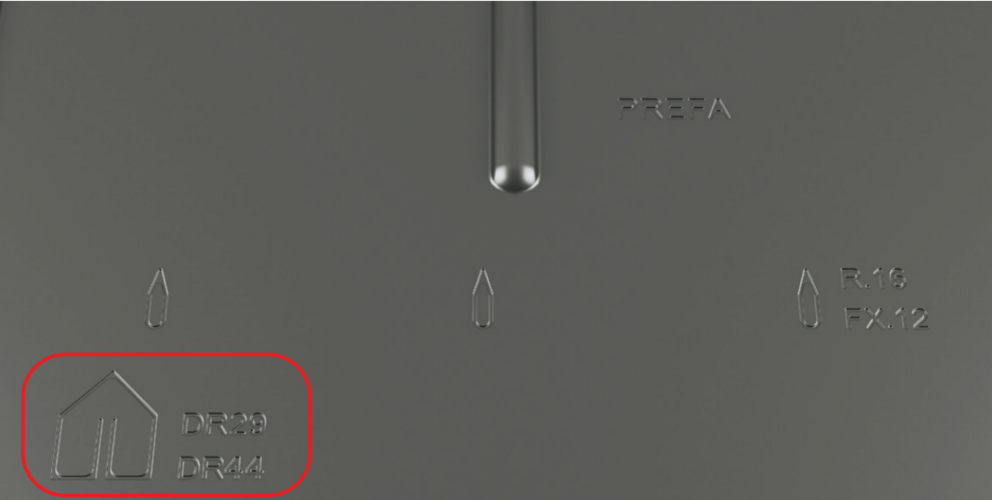
It should be noted that the area for the lateral upstand (e.g. abutment detail) is not in the centre of the 29 x 29 or 44 x 44 rhomboid façade tiles. If necessary, move the starter strip by a quarter of the dimension (1/4 of the vertical lacing dimension) of a 29 x 29 or 44 x 44 rhomboid façade tile.
Note that there is a separate starter strip for the roof tile. The fastening is the same as the starter strip, which was described above.
The fact that the roof tile is the only PREFA small-format product that may also be laid on battens gives rise to the following distinction:
Installation on fully boarded substrate
Measure 450 mm downwards from the top edge of the first roof tile. Make 150 mm (starter strip width) from below a mark (= starter strip width upper edge).
Installation on battens
Measure 470 mm downwards from the top edge of the first main batten. Make 150 mm (starter strip width) from below a mark (= starter strip width upper edge). Repeat this process on the other side and connect these markings with a horizontal coloured cord cut.
You can only download content from one product category. If you require content from multiple categories, please create a separate download for each product area.
