 with PREFALZ in P.10 dark grey")


The façade shingles are to be installed from right to left and should be laid in horizontal rows. The offset from row to row is 1/3 - see “V” marking on the upper fold of the shingles. Each shingle is fastened with a clip and a supplied 2.8/25 grooved nail (= base attachment). The XL façade shingle is fastened with two clips and two ring nails 2.8/25. In areas particularly prone to storms, a wind load calculation is required and fastenings must be adjusted according to the calculation.
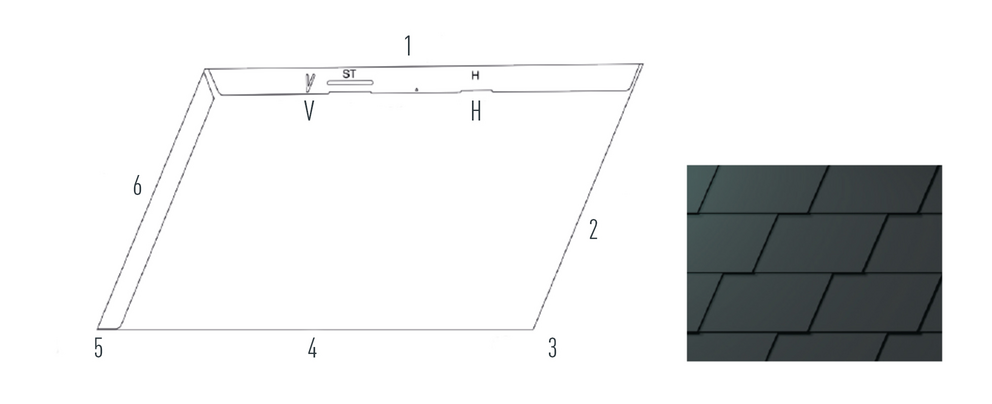
V Offset |
3 Heel |
Note
When installing the XL wall shingle, a joint offset of at least 100 mm is recommended. If the joint offset remains the same, a line out is advantageous.
Note
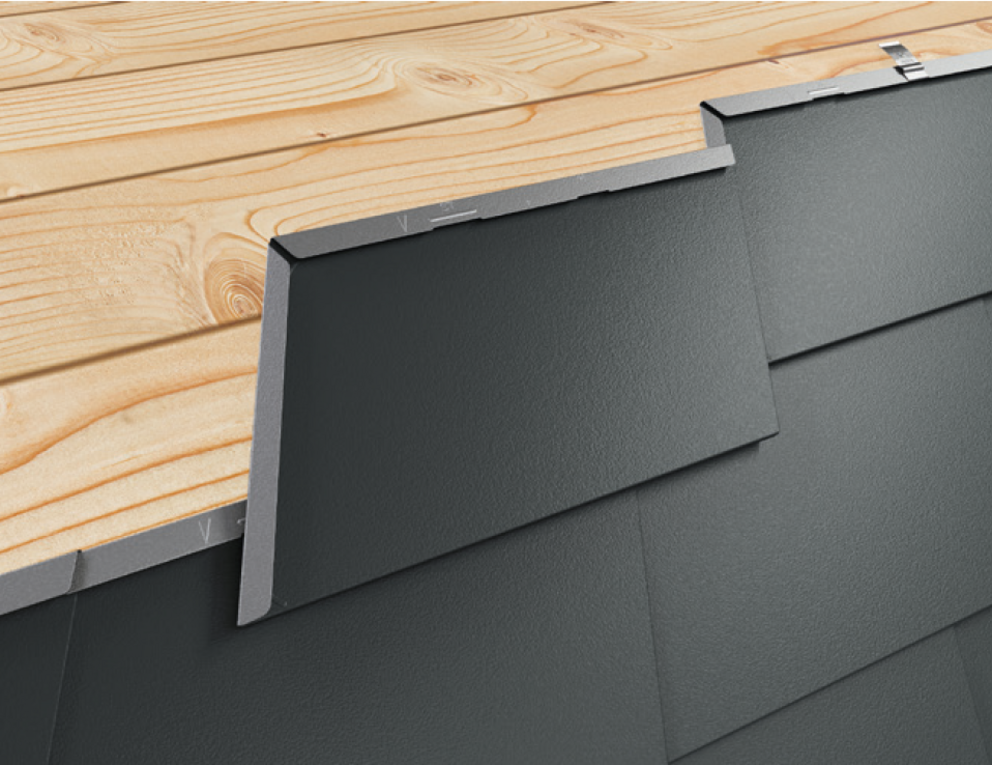
Due to the shape of the façade shingle, there is a lowering at the heel of the façade shingle. Keep to this lowering when installing the first façade shingle in each row by not pushing the first façade shingle all the way to the top in the starter strip or fold. Leave the heel of the first façade shingle until the upper panel fold runs straight along the entire length. Covering the first façade shingle must be avoided. Make sure that when connecting to the collar, the upper plate cover runs straight through over the entire length.
You can only download content from one product category. If you require content from multiple categories, please create a separate download for each product area.
