 with PREFALZ in P.10 dark grey")


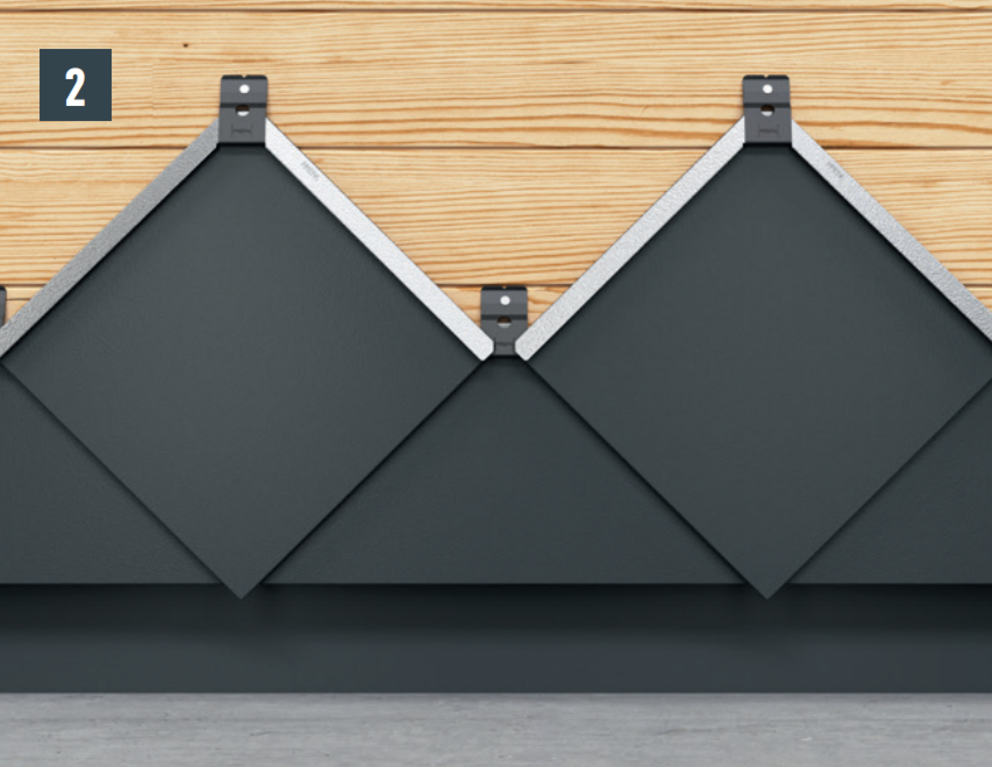
Rhomboids 20 x 20 can be installed in both directions, left and right, but do not change direction during installation. Adhere to the laying direction once started. Never cover to the middle (Exception: Penetrations).
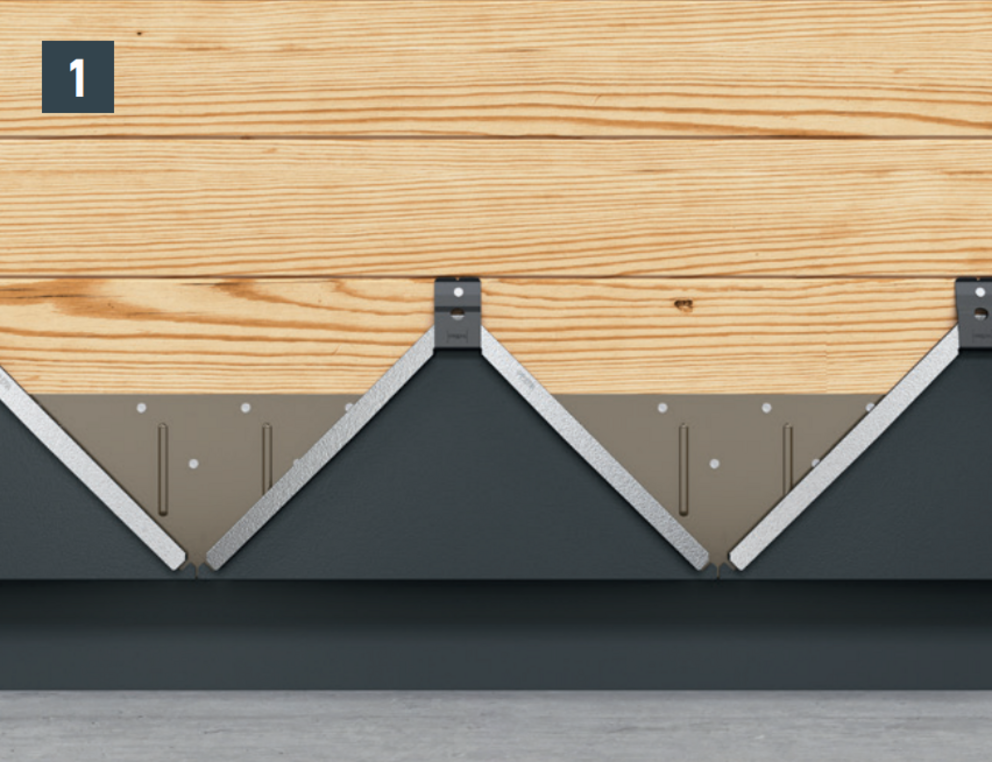
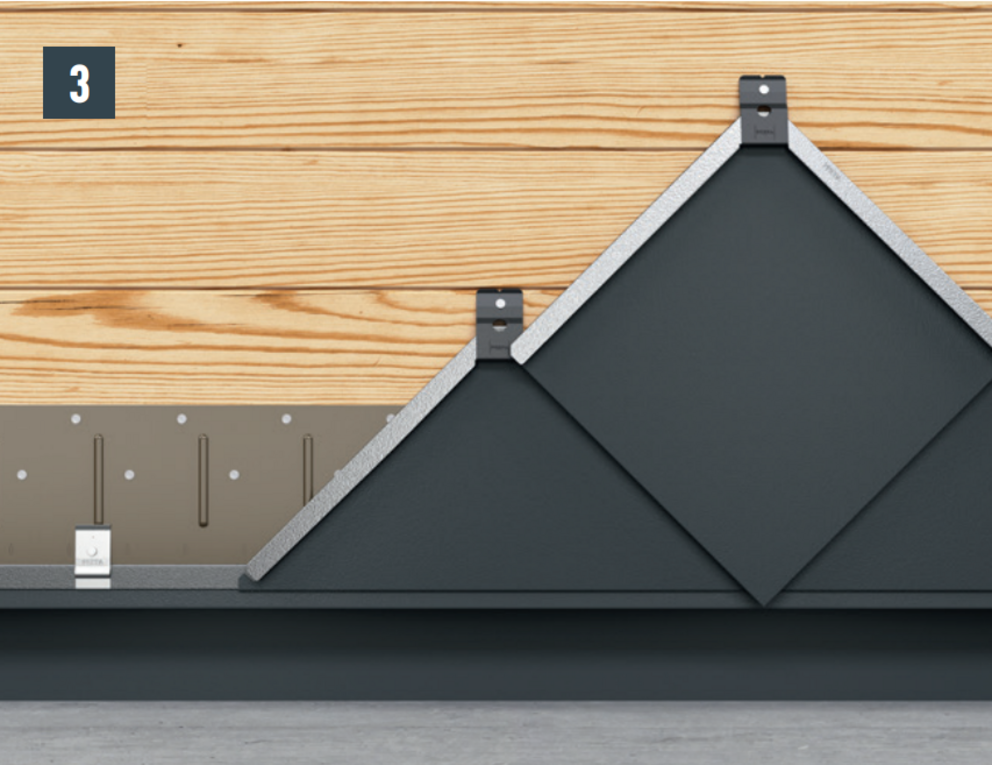
Each 29 × 29 rhomboid façade tile is fastened with a clip and a supplied ring nail 2.8/25.
In areas particularly prone to storms, a wind load calculation is required and fastenings must be adjusted according to the calculation.
Bottom and top details require start and end plates (2.22 pcs./running metre).

You can only download content from one product category. If you require content from multiple categories, please create a separate download for each product area.
