 with PREFALZ in P.10 dark grey")


Positioning and spacing of clips is of particular importance with double standing roof and wall applications. Properly installed clips are crutial for functionality of a roof or facade. In order to avoid abrasion and other damages toroof and wall applications and thus ensure the durabiltity in the long term, the correct installation by a specialist is an important criterion in addition to a well-engineered product. The driving depth of grooved nails or magazine screws, the parallel seating to the fold, and the correct clip spacing are just some of the basic aspects that must be observed!
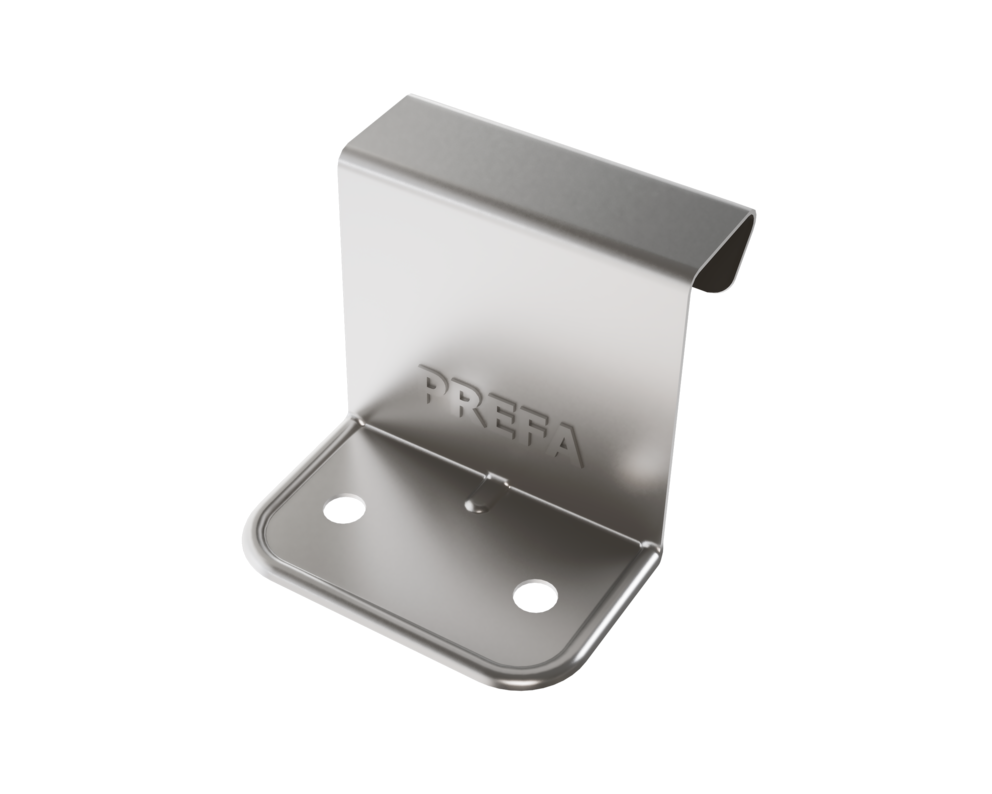
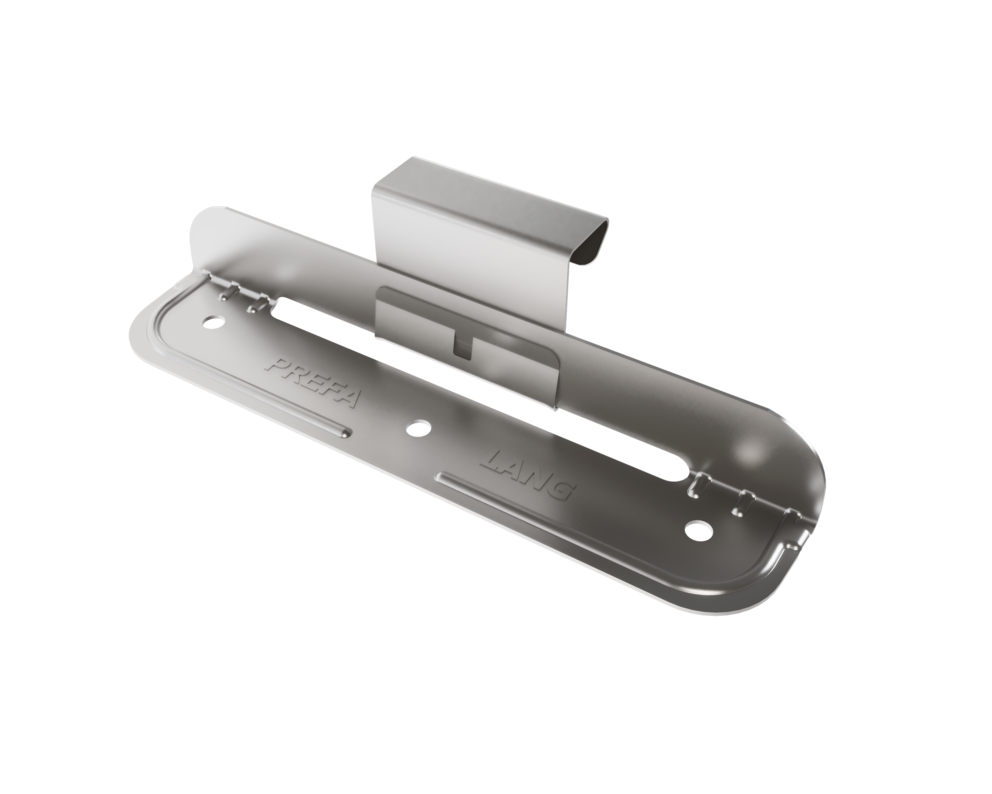
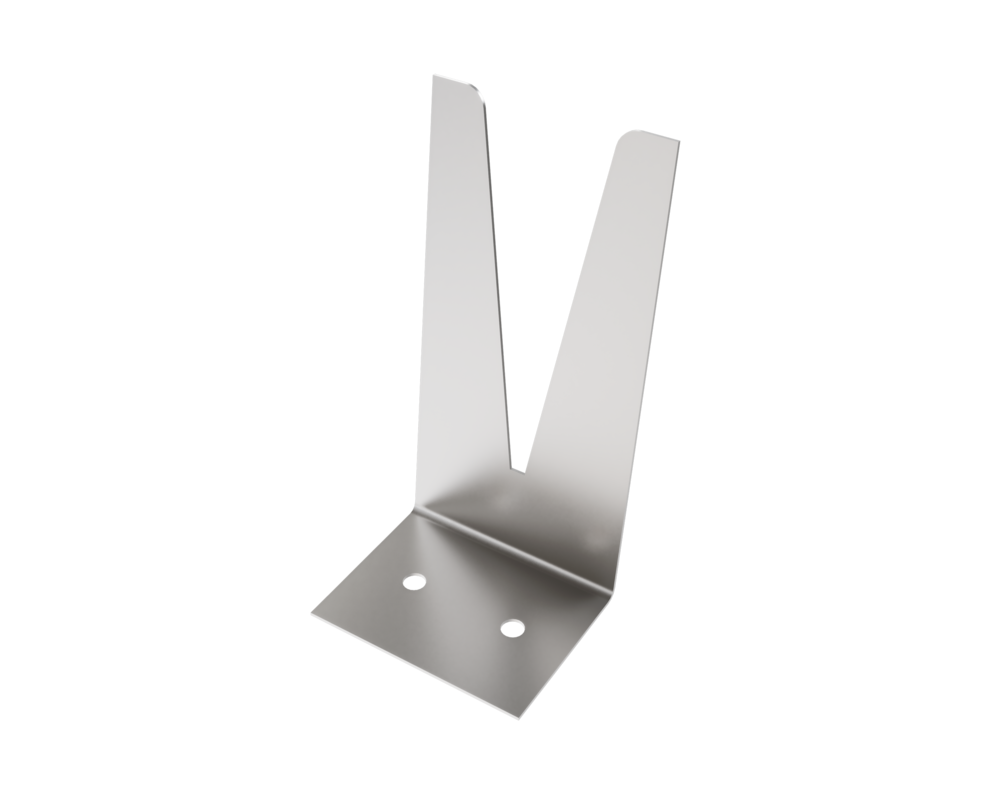
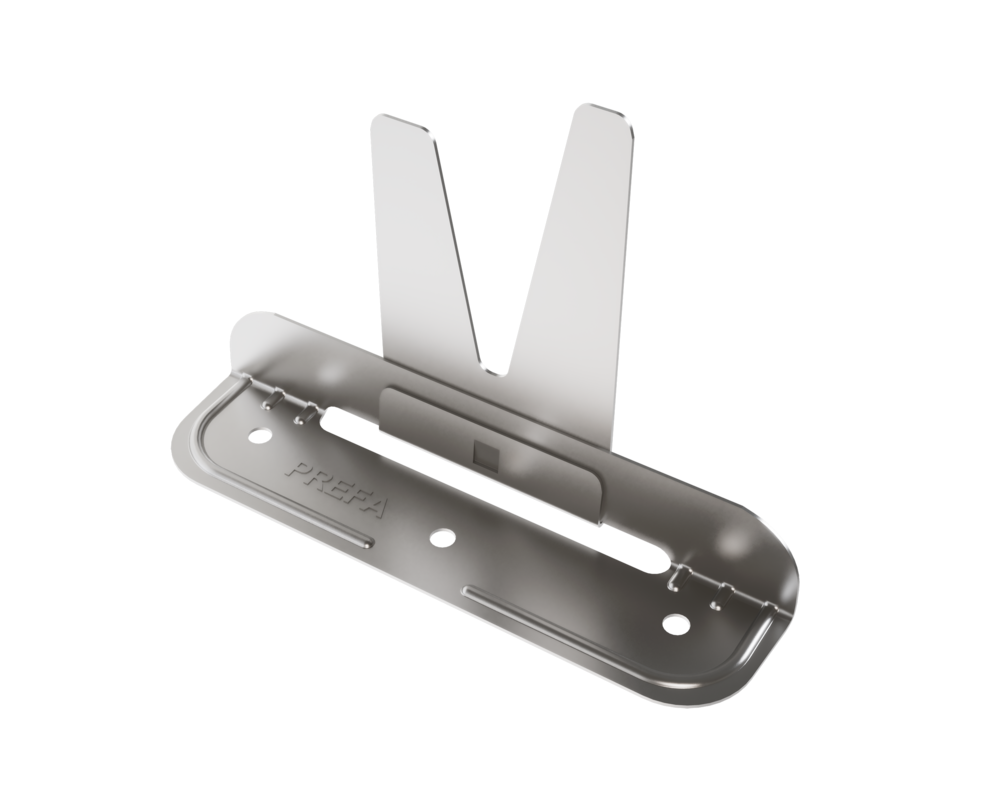
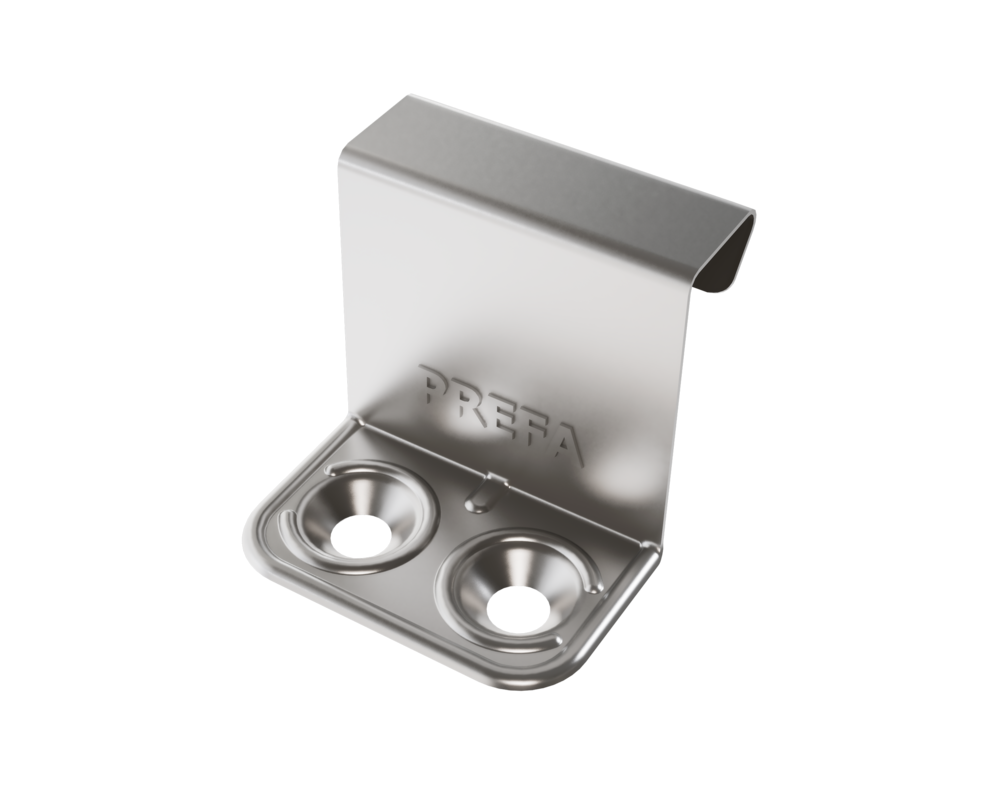
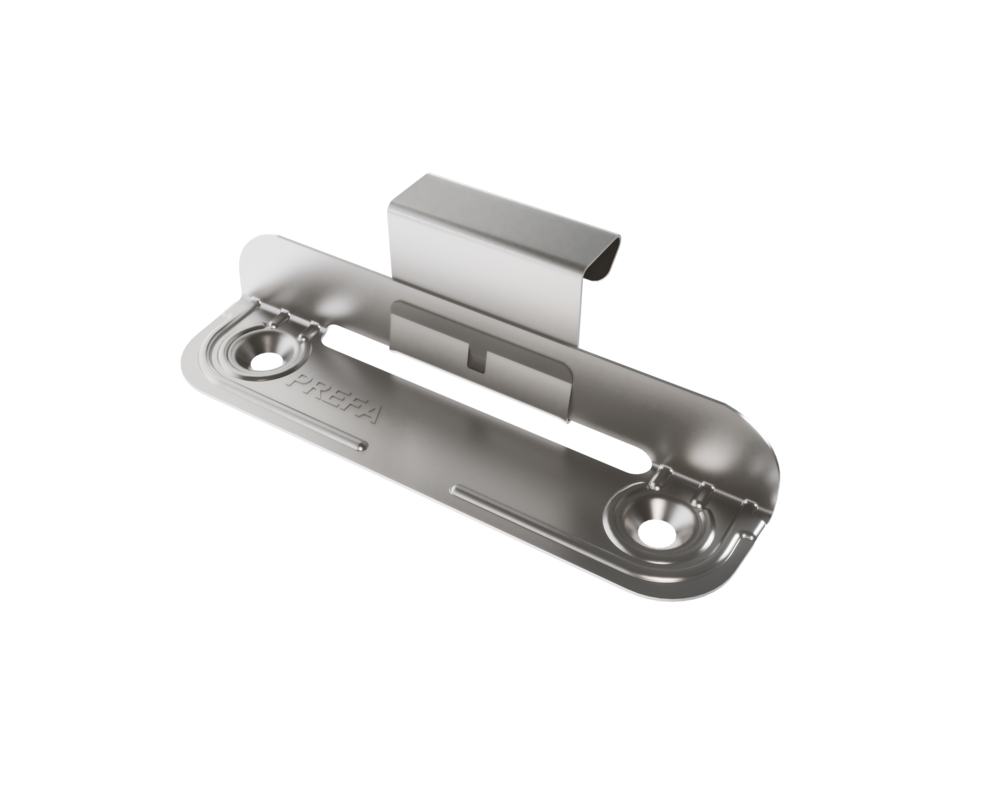
PREFA double standing seam and angled standing seam applications are fastened with PREFA stainless fixing and sliding clips. These are system-tested and form the basis for further calculation of clip spacing as well as the structural design of solar installations.
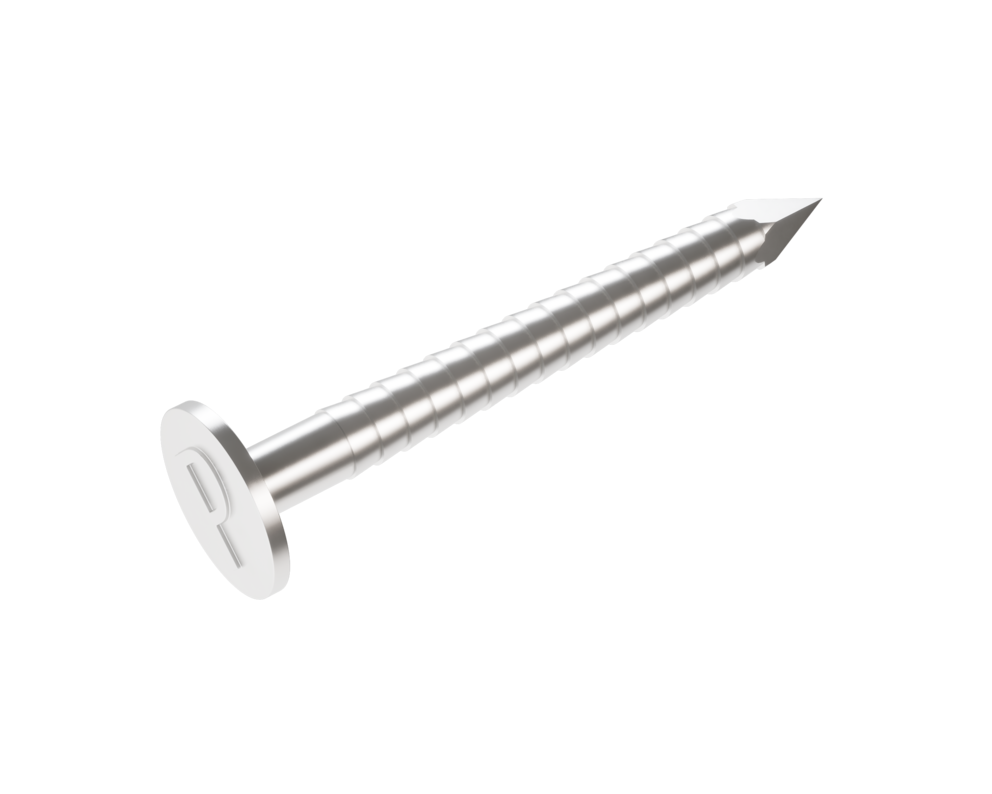
For fastenings of standing seam coverings, clips with nails, screws or rivets made of stainless steel are to be used. For this reason, PREFA offers stainless steel grooved nails in different lengths for fastening PREFALZ coverings.
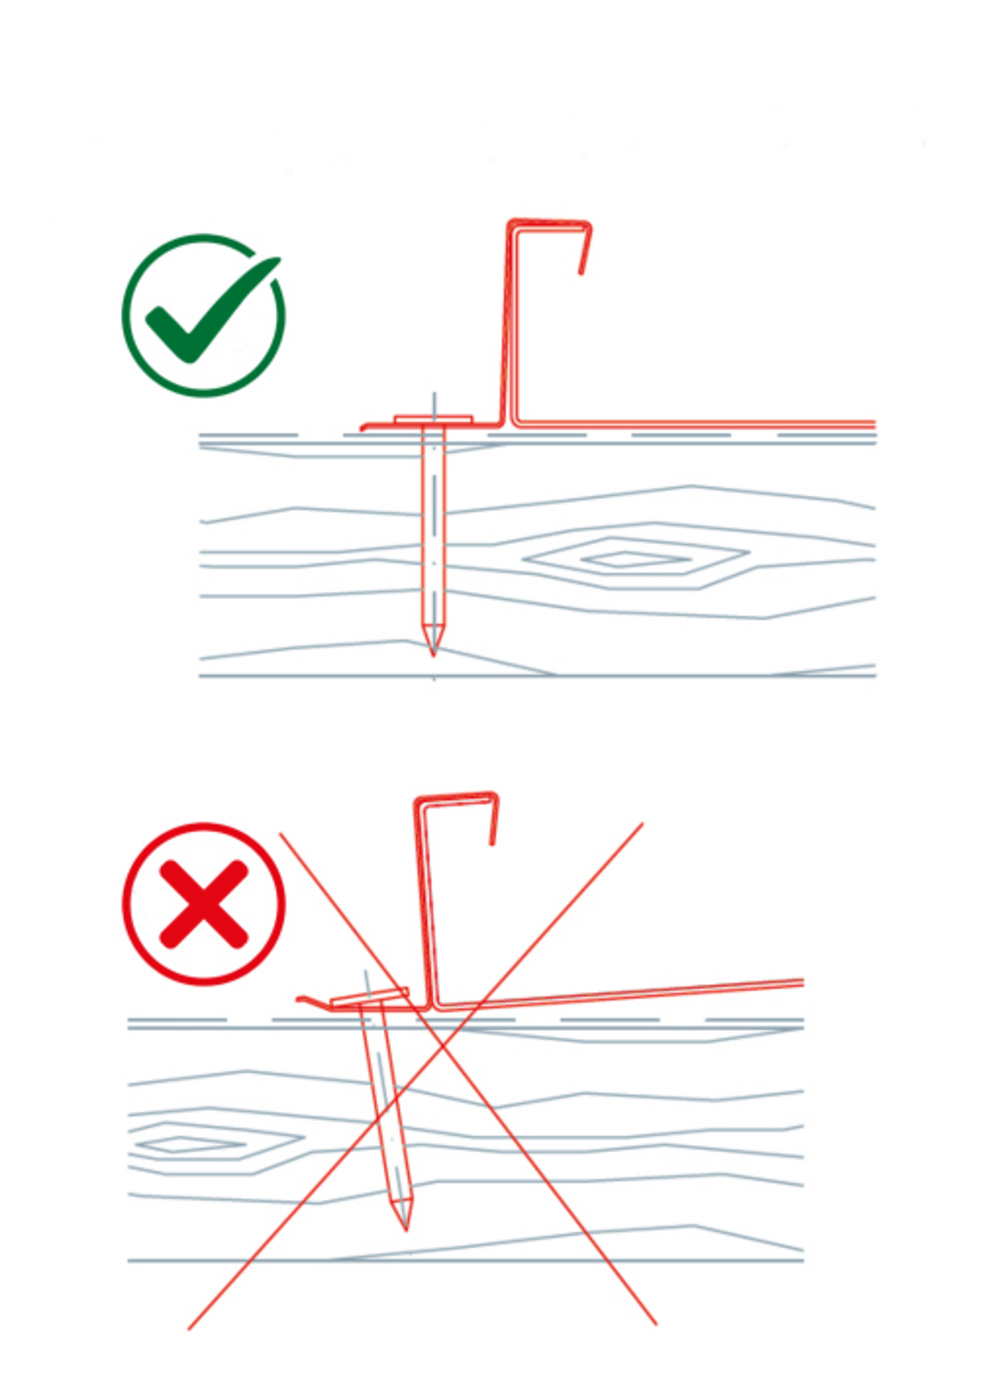
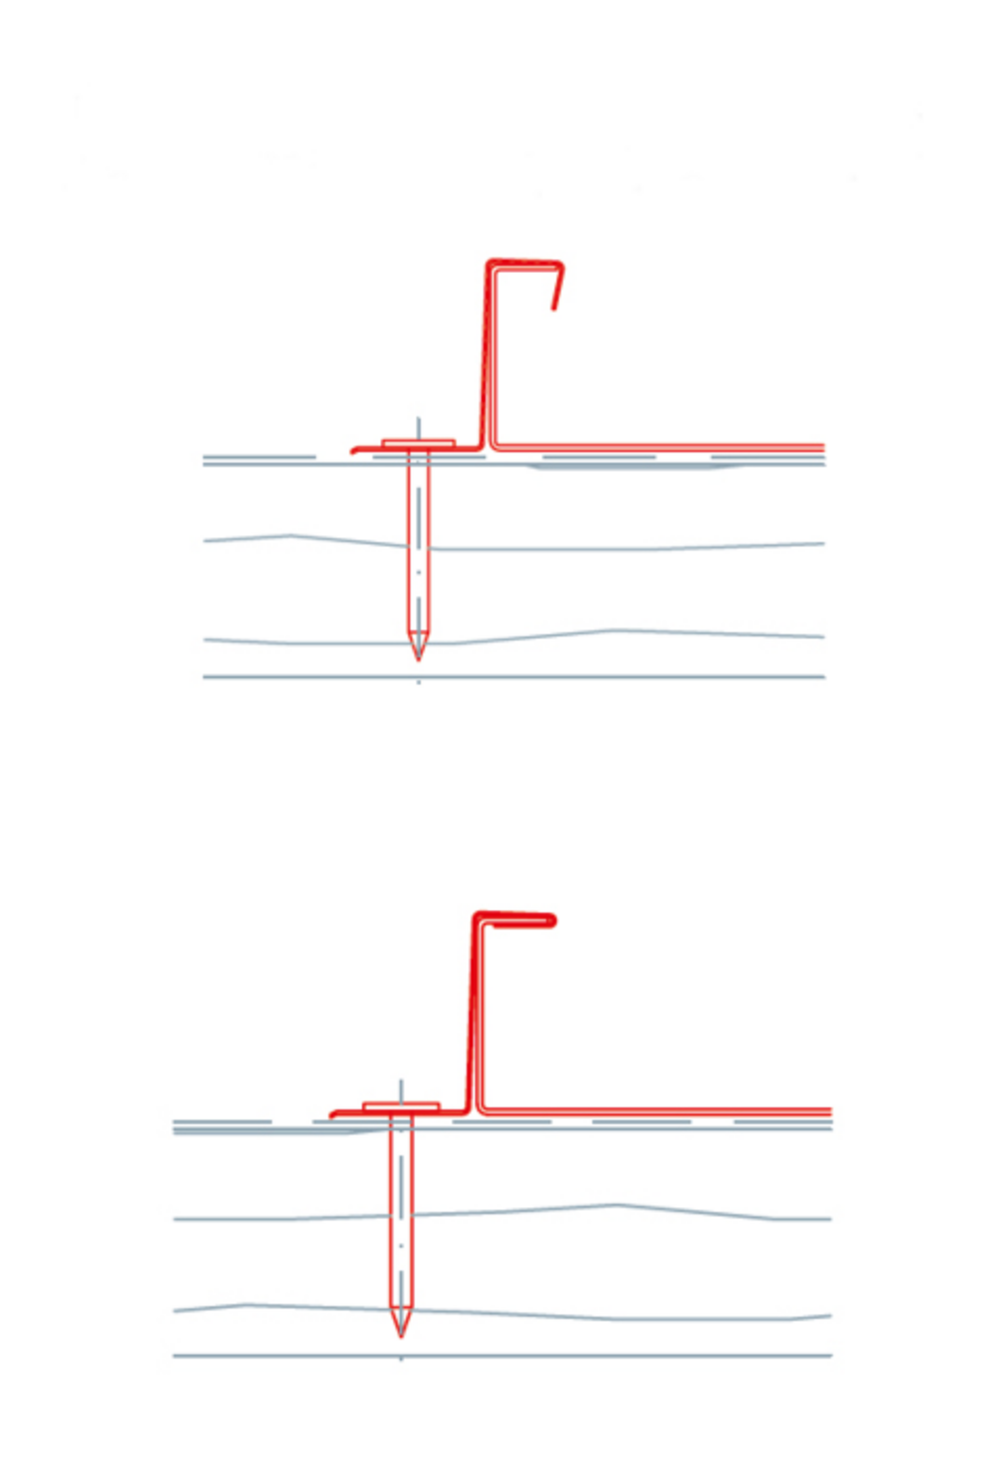
When fastening the PREFA stainless steel fixed clips and sliding clips, ensure that the grooved nails are sufficiently countersunk and do not protrude over the base of the clip in order to avoid pressure and chafe marks on the installed covering. PREFA stainless steel fixed clips must be installed with 2 stainless steel grooved nails. PREFA sliding clips must be installed with 3 stainless steel grooved nails.
PREFA also provides manufactured clips as well as suitable countersunk screws for a screwed fixing version. In the case of screwed versions, 2 screws per clip are to be used for both fixed clips and sliding clips.
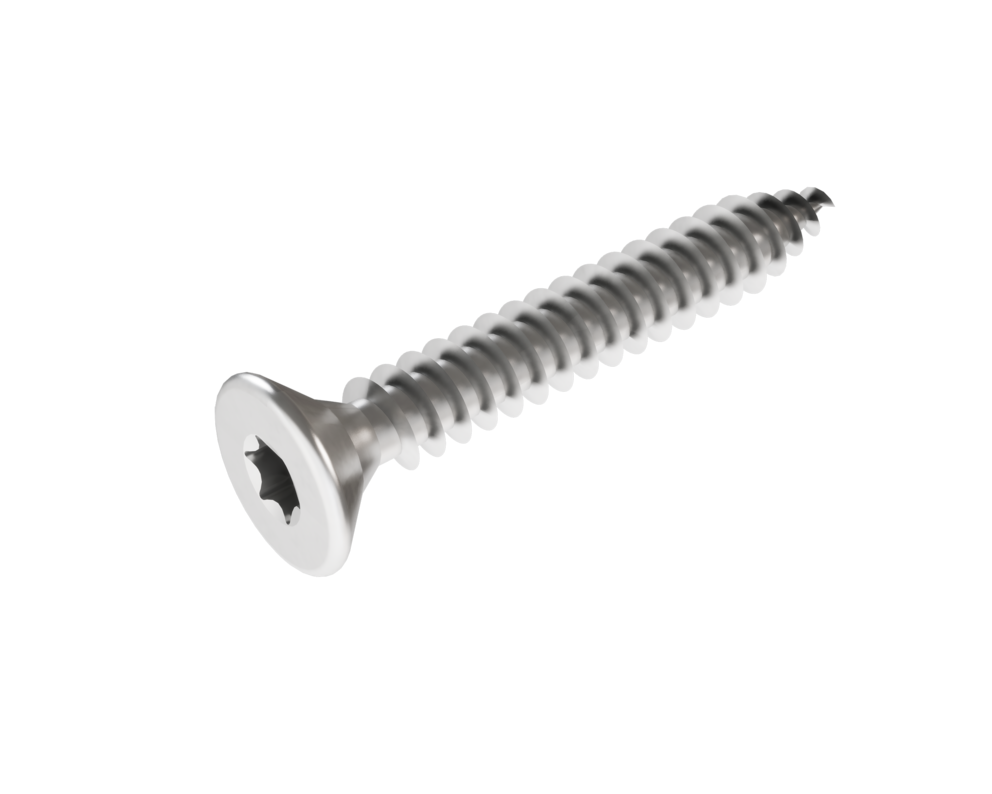
When using thicker separation layers, use longer nails or screws if necessary.
PREFA stainless steel fixed and sliding clips are only suitable for even and solid surfaces and only for seam heights of 25 mm!
Before the panels are fastened on the underlap side to the formwork with stainless clips, the fold on the hooked overlap side must first be completely closed.
The following points must be observed without fail when fastening the clips:
After attaching and fastening the clips, close tight the clip to the underseam (see figure below).
Note
The use of third-party clips will void the warranty and cannot be taken into account in structural calculations.
You can only download content from one product category. If you require content from multiple categories, please create a separate download for each product area.
