 with PREFALZ in P.10 dark grey")


Once the rail and bracket system has been completed, start with installation of abutment trim, base profile, perforated flashing and drip edge. The rain guard joint is overlapped and glued down. The (concealed) underlying rain guard is then cut into so that the overlying rain guard can be installed.
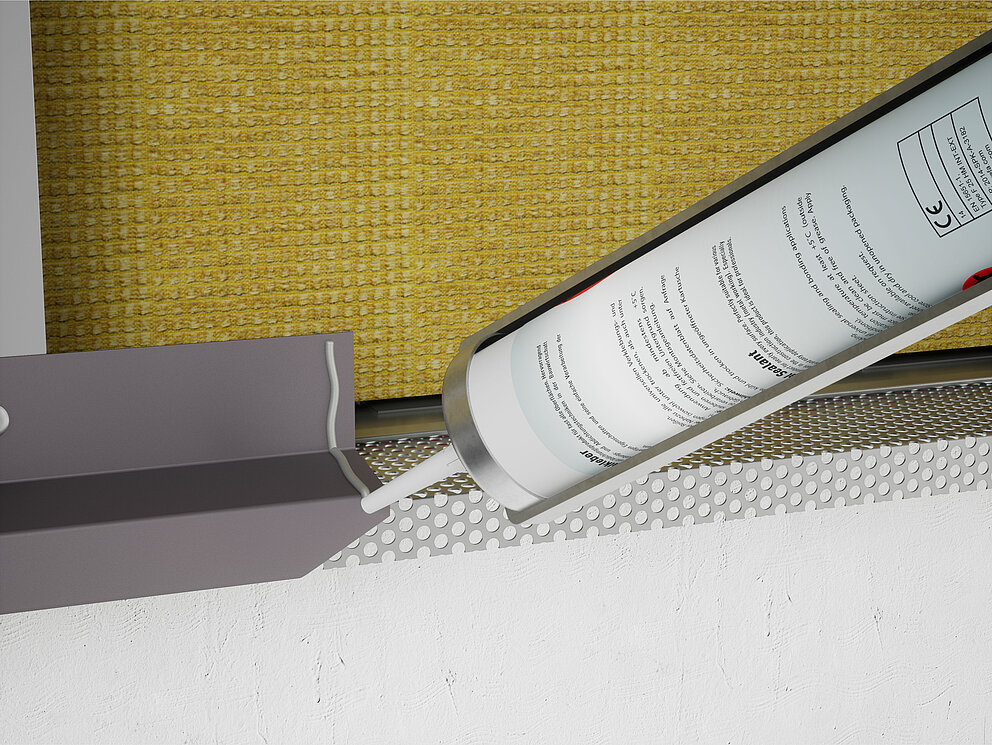
Alternatively, the drip edge could be joined using a glued soaker flashing:
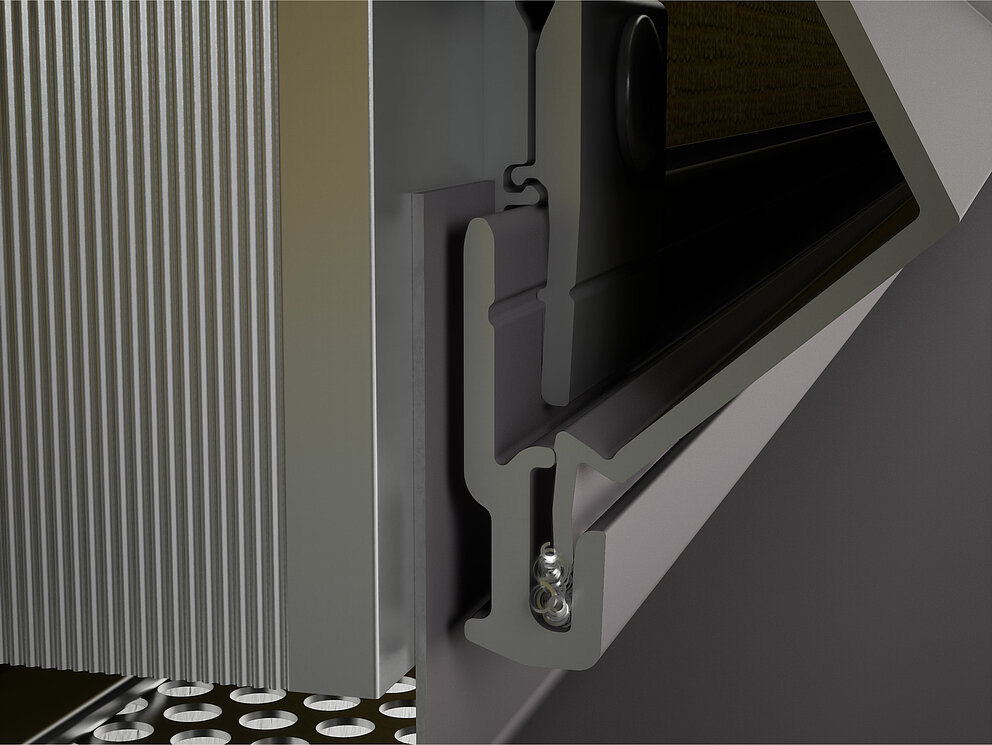
Once the bottom detail (perforated and drip edge flashing) has been completed, the starter profile as the first component of the cladding can be installed. When erecting an extruded profile façade, the first profile is always the starter profile.
Note
Depending on the profile geometry and corresponding profile depth, the overhang of the drip edge must be adjusted.
In order to ensure adequate air inflow via the rear ventilation for the extruded profiles, the spacing between the lower edge of the profile and the drip edge must be min. 10 mm.
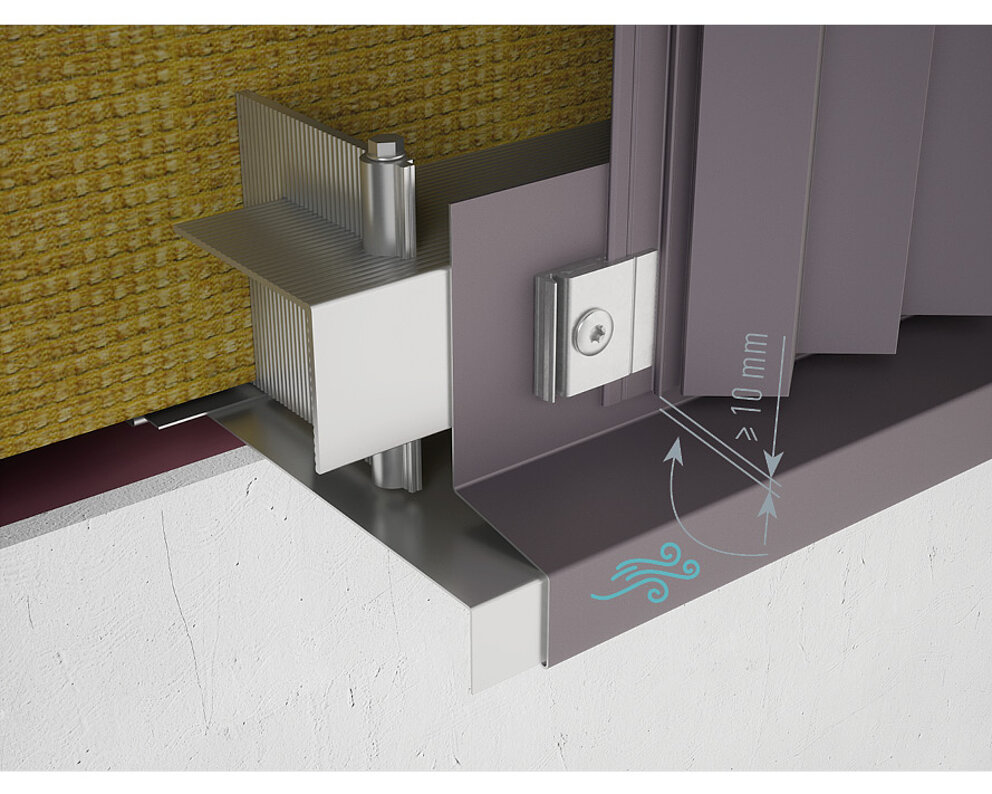
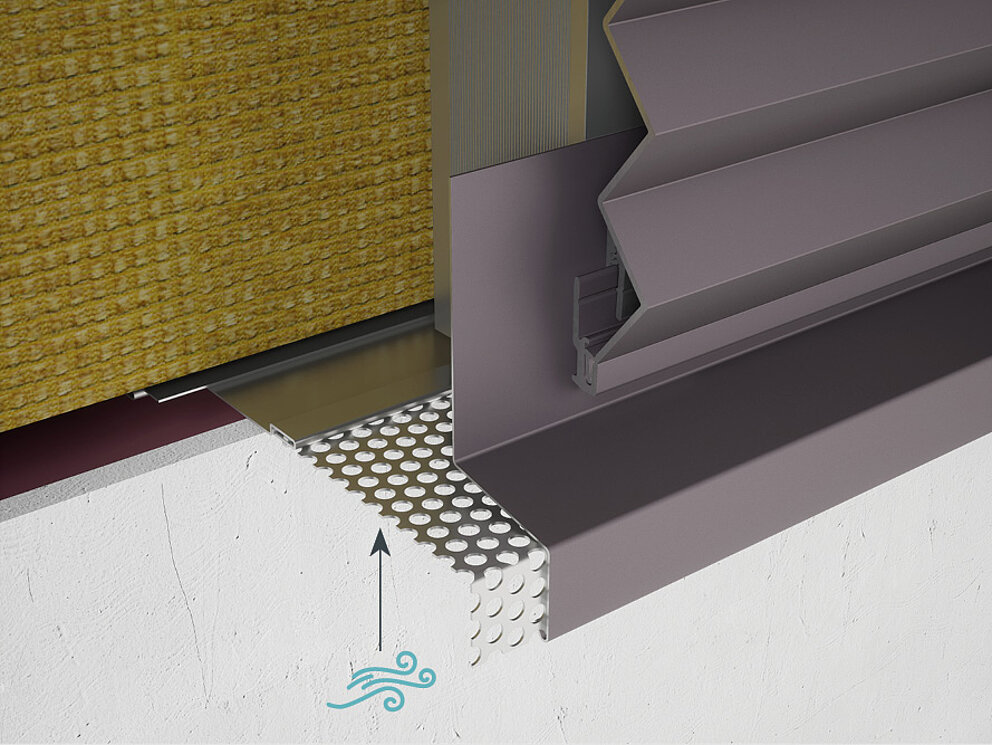
A precise installation is important, as this essentially determines the appearance of your façade. The more accurately the profile is measured and then installed, the easier it will be for you to complete the installation correctly and professionally. Make sure that the ventilation gap is not obstructed.
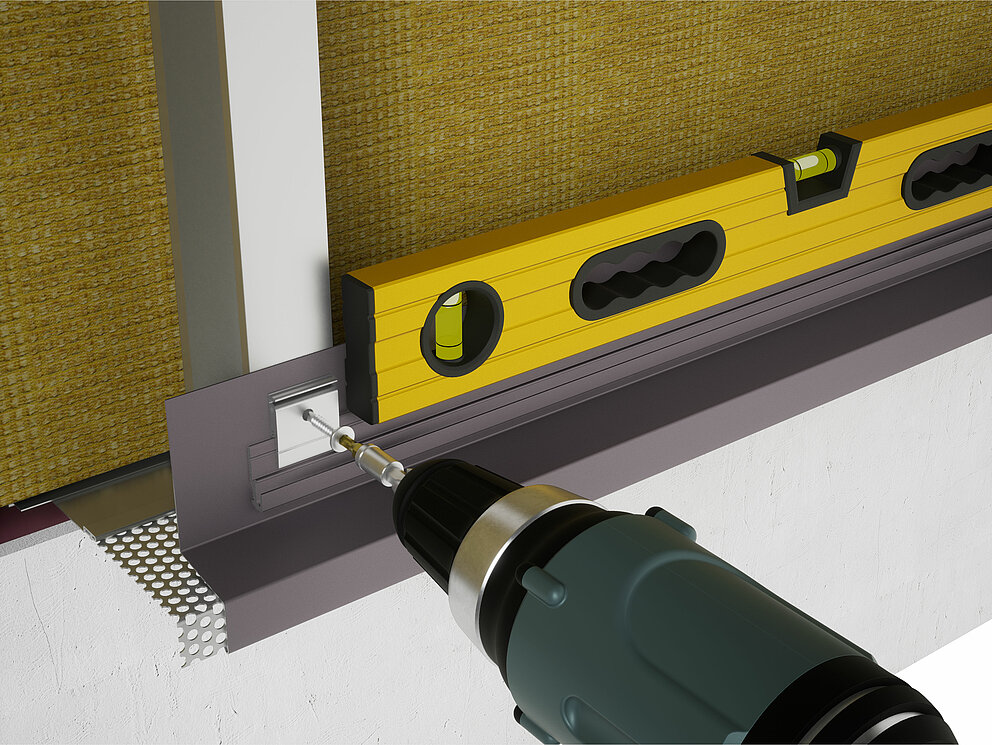
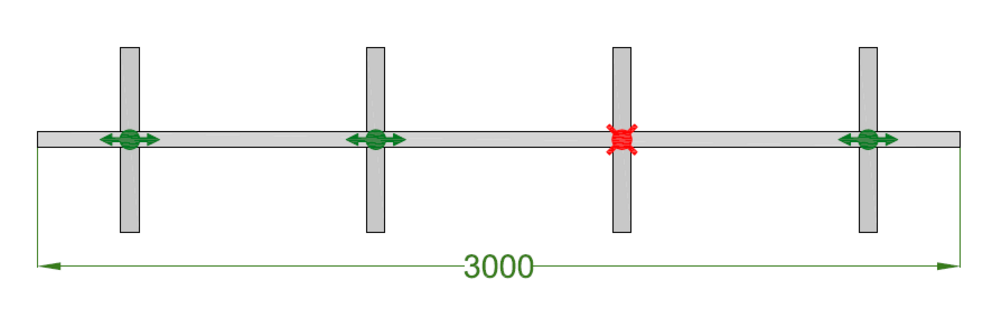
Ensure that the installation is free of tension by mounting the starter profile to the sub-structure framework using a clear arrangement of fixed and sliding points.

Note
Remove all metal shavings and soiling before inserting the extruded profiles into the starter profile so that the sliding clip can be installed without tension.
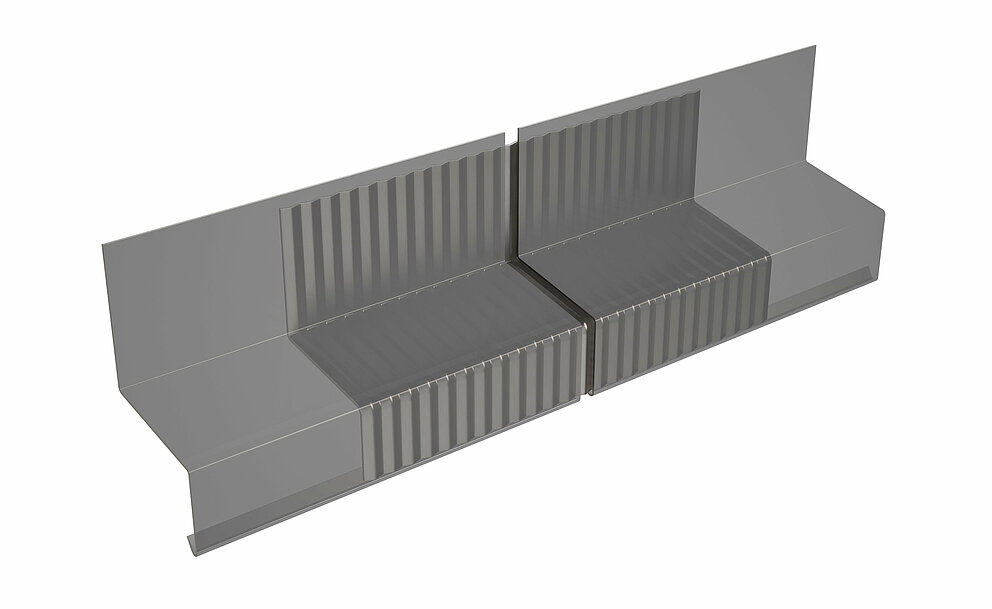
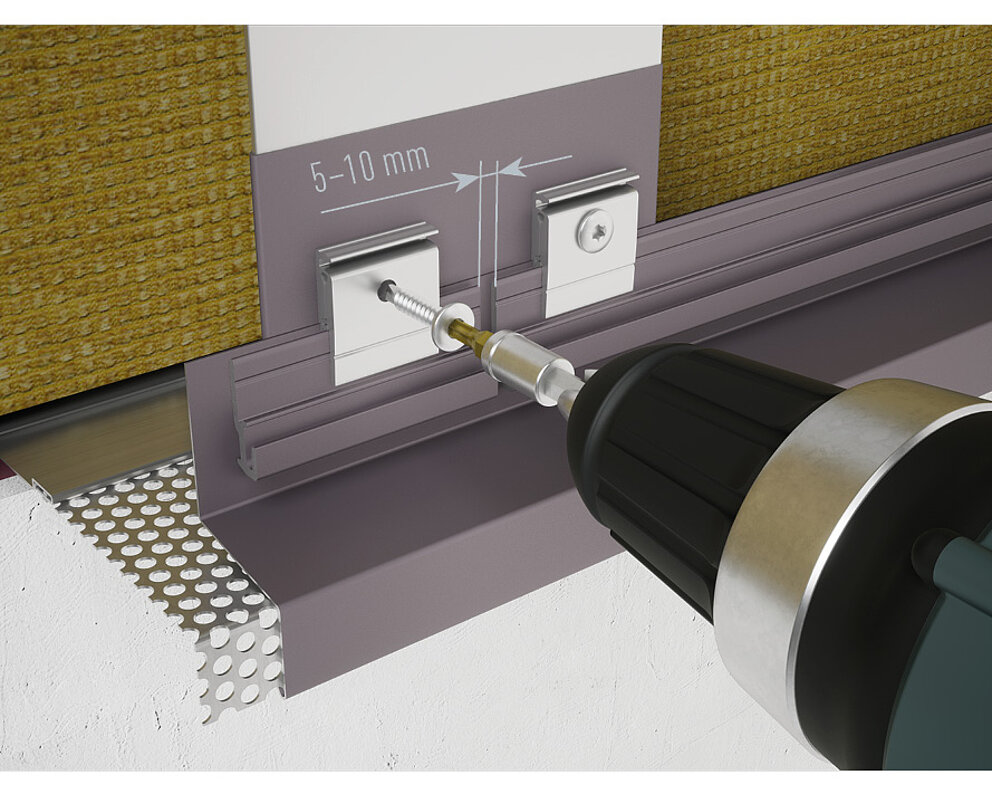
For longer building dimensions, you must not join the starter profiles and perforated starter profile together due to material expansion. Maintain a spacing of 5-10 mm for material expansion (depending on the length of the starter profile).
You can only download content from one product category. If you require content from multiple categories, please create a separate download for each product area.
